
Whitelisting E-Mail Guide
Definition – A whitelist is a list of e-mail addresses or domain names from which an e-mail blocking program will allow messages to be received.
Note: This is the opposite of a blacklist – which is a list of addresses that a network can use to filter out undesireable traffic such as spam.
To begin, open Outlook and follow the steps below.
- While in your mail Click the Home tab. (or Actions menu in older versions).
- Choose ‘Junk’ E-mail.
- Click on Junk E-mail Options
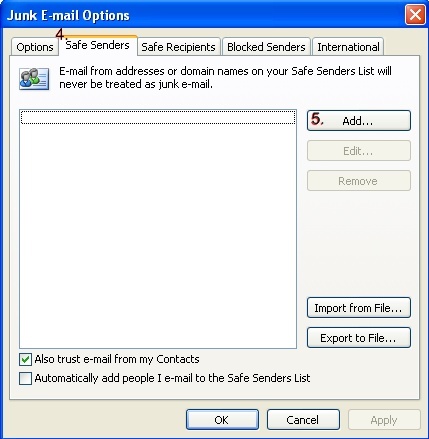
- Choose the Safe Senders tab in the Junk E-mail window that appeared.
- Click Add
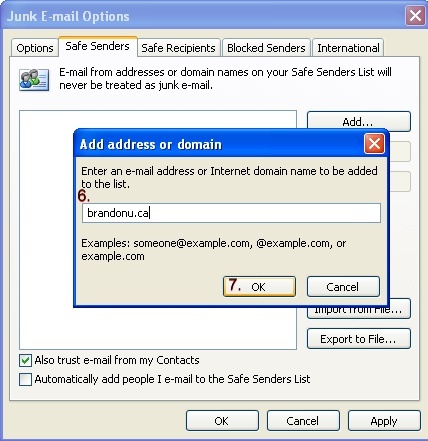
- Type in @brandonu.ca
- Click OK
- Click Apply
- Click OK
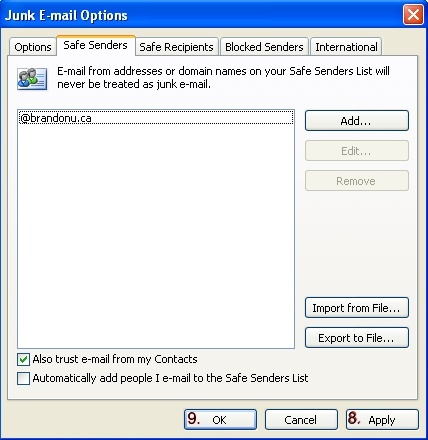
You have now set Outlook to prevent any email from an address which ends in @brandonu.ca being filtered as junk-mail.
You should now repeat these steps using the phrase @listserve.brandonu.ca in step 6 to prevent any of the campus messages sent to bu_admin@listserve.brandonu.ca from getting filtered as junk-mail.
This same process can be used to prevent their email addresses from getting filtered by outlook. For example, if you notice some email from friends/colleagues going into the junk-mail folder which shouldn’t be there you can simply put in the entire email address of the person in step 6.