
Student Printing for macOS
If you are using a MacOS laptop, make sure you are connected to the BU_Secure Wi-Fi. Printing will not work if you are connected to other Wi-Fi network names at BU (BU_Public, BU_Residence, or others) If you need help connecting to the BU_Secure Wi-Fi please visit this link or visit the HelpDesk for assistance.
Newer mac versions MacOS Ventura 13.7+
Installation Steps
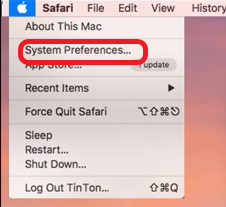
- Click on the Apple Menu and click on “System Settings”.

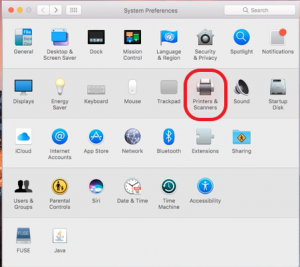
- Scroll down the list and select “Printers & Scanners.”

- Select “Add Printer, Scanner or Fax…” button.

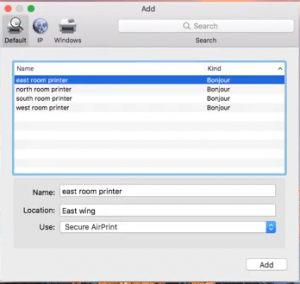
- Add the printer that you would like to use. Options Are:
- 01_BU_Student_BW queue is used for Black & White printing only
- 01_BU_Student_Colour queue is used for Color printing only
- Do not select any other printers from the list. The 2 printer queues above are the only ones available for BU Students to print to when using these instructions.
- Make sure that Use is set to “Secure AirPrint” and click “Add”. You will need to repeat these steps for every printer that you want to use.

- The printer will now be available from the list of printers installed.


Older mac versions MacOS Yosemite 10.10 to Monterey 12.7
If you are using a MacOS laptop, make sure you are connected to the BU_Secure Wi-Fi. Printing will not work if you are connected to other Wi-Fi network names at BU (BU_Public, BU_Residence, or others) If you need help connecting to the BU_Secure Wi-Fi please visit this link or visit the HelpDesk for assistance.
Installation Steps
- Click on the Apple Menu and click on System Preferences.
- Select Printers & Scanners.
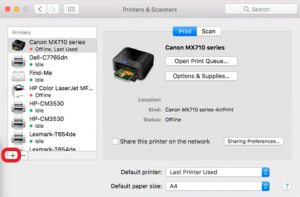
- Select the plus icon under the printer list.
- Add the printer that you would like to use. Options Are:
- 01_BU_Student_BW queue is used for Black & White printing only
- 01_BU_Student_Colour queue is used for Color printing only
- Do not select any other printers from the list. The 2 printer queues above are the only ones available for BU Students to print to when using these instructions.
- Make sure that Use is set to “Secure AirPrint” and click add. You will need to repeat these steps for every printer that you want to use.
- The printer will now be available from the list of printers installed.
Printing Steps
With the software installed you may now print to the BU Student Printers. Proceed to open the document/file you would like to print. Depending on the document, this process may vary. For this guide, we will using a Microsoft Word Document.
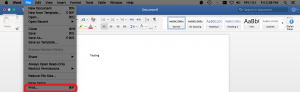
- Click “File” on the Apple menu then click “Print…”.
- Select whether you would like to print to the Colour printer queue or to the Black and White printer queue by selecting it from the list. Then click “Print”.

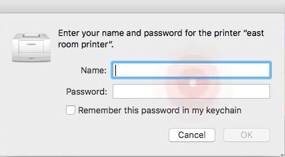
- Send the job to the printing queue by using your BU Account Username (your email address will not work) and BU Password.
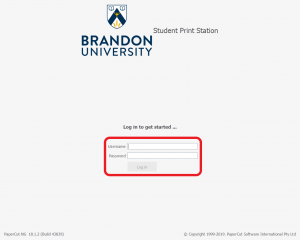
- Go to one of the designated BU Student Printer Release Stations (typically a computer directly beside a student printer) and login using your BU username and password.
- The current release station and printer for the 01_BU_Student_Color queue is located in the BU Library 1st floor printing area.
- All other BU Student Printer Release Stations will only accept and display print jobs sent to 01_BU_Student_BW printing queue.
- From here you can choose to Print or Cancel any pending
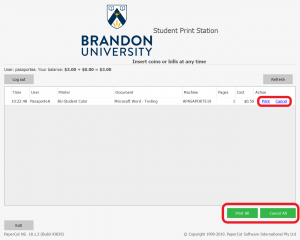
- When you have the job selected and press Print, your documents should be printed out at the nearest printer.
